
Start the Disaster Recovery Process using the Reimaged CD
You can perform disaster recovery using the reimaged or the remastered CD on a Windows XP or Windows 2003 computer..
To perform disaster recovery using the reimaged CD
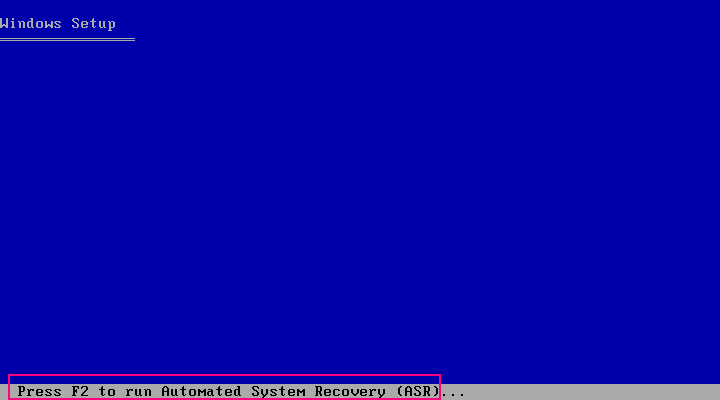
A message appears at the bottom of the screen prompting you to press F2 to start Automated System Recovery.

For <win> XP, insert the machine specific disk after you press F2.
For <win> Server 2003, press F2 and continue.
Important! Press F2 to avoid normal Windows installation.
The ASR process evaluates the available disk configuration. If ASR requires you to recreate disk partitions, a recovery process dialog opens.
This dialog does not appear if you are not recreating disk partitions.
The files are copied to the Windows installation folders.
The computer will reboot automatically.
The Windows ASR process continues.
Important! If you press Enter, Esc, or Alt-F4 when the Automated System Recovery is formatting the volumes on your Windows XP or Windows 2003 systems, the Automated System Recovery process is interrupted and the formatting fails. Consequently, the data on these volumes will not be restored.
The Disaster Recovery wizard appears, and the recovery process begins.
|
Copyright © 2016 |
|