User Registration and Account Type Configuration
To use Arcserve Cloud Direct or Arcserve UDP through Arcserve Cloud Console, you must have an Arcserve account. If you do not have an existing Arcserve account, use the User management portal to create one.
This section provides information about how to register into Arcserve portal and configure the account type for your organization.
To register into Arcserve portal and configure the account type, follow these steps:
- Go to Arcserve Registration page.
- On the Arcserve Account Registration window, click Create Account.
- The User Registration window appears.
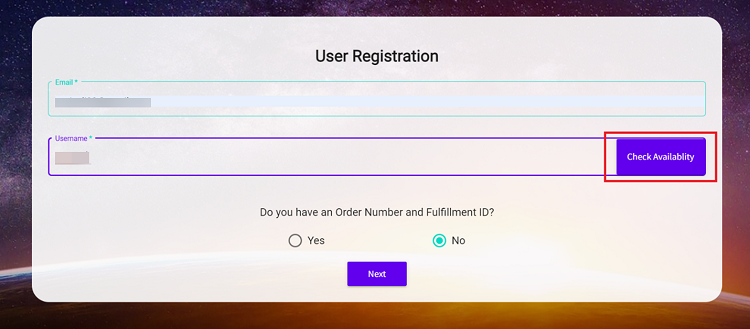
- On the User Registration window, do the following, and then click Next:
- From the drop-down list at the top-right corner, select language as needed.
- Type your email ID.
- Type the username. The username must be unique and used to log into the Cloud Console.
- To check the availability of the username that you have provided, click Check Availability. If the username is available, the Check Availability changes to Username available.
- If you have an Order Number and Fulfillment ID, select Yes, and then provide the Order number and Fulfilment ID. Otherwise, select No.
-
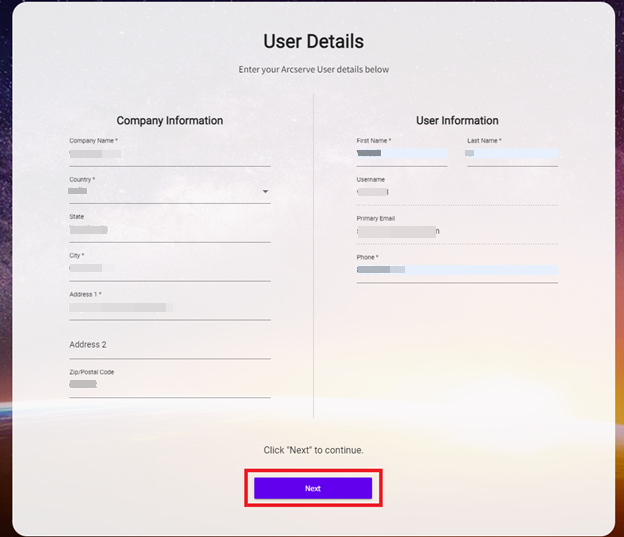
- The User Details window appears.
- Provide the required information, and then click Next.
-
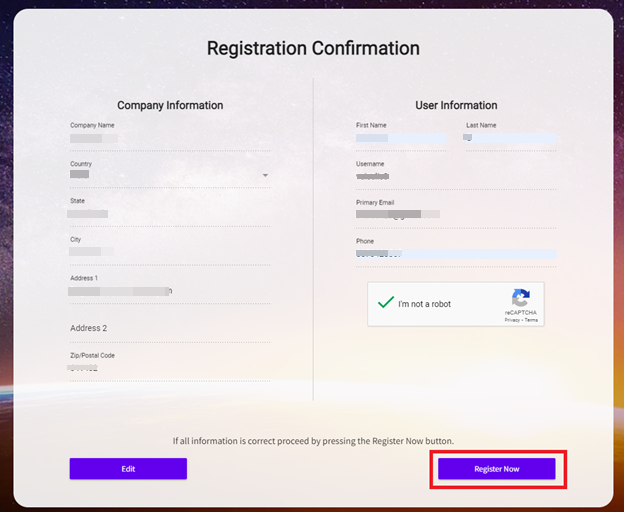
- The Registration Confirmation window appears.
- On the Registration Confirmation window, do the following:
- Resolve the captcha to continue.
- Verify the information that you have provided, and then do one of the following:
- If the information is correct, click Register Now.
- If the information is incorrect, click Edit, update the details as needed, and then click Register Now.
-
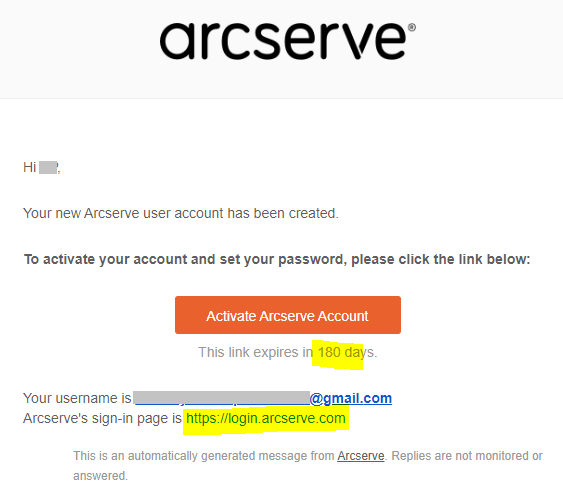
- On successful registration, Okta will send an email to you.
- Open the email that you receive from Okta, and then click the Activate Arcserve Account button to activate your account and set your password.
-
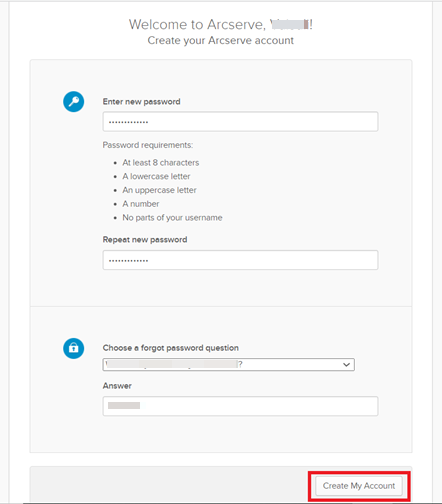
- On the Create your Arcserve account window, do the following, and then click Create My Account:
- Type the new password and then retype the new password to confirm.
- Provide the security details as needed.
-
- The Arcserve account is created successfully.
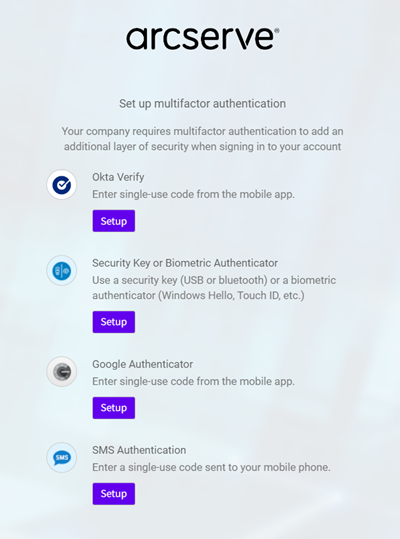
- A window appears and prompts you to set up multifactor authentication.
- Click Setup for the authentication type that you want to select.
-
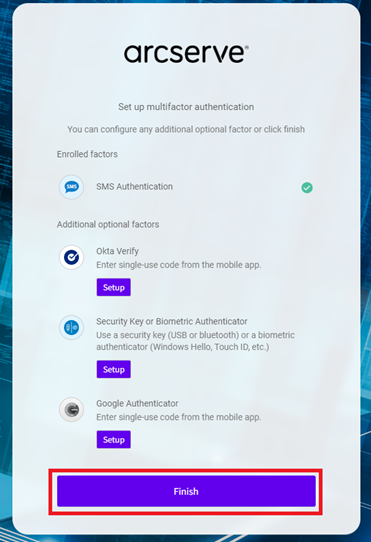
- To complete the multifactor authentication process for the authentication type you have selected, follow the on-screen instructions.
- After you complete the multifactor authentication, click Finish. You can also configure other authentication factors as needed.
-
- The account gets activated successfully and logs you into the Arcserve portal.
- Note: Arcserve supports Single Sign-On (SSO) to authenticate users through Okta (SAML) as an identity provider for Cloud Console. Single Sign-On (SSO) is an authentication method that allows you to access multiple applications with a single set of login credentials (for example, username and password). When you use SSO, you do not need to sign into every browser or an application during the same session.
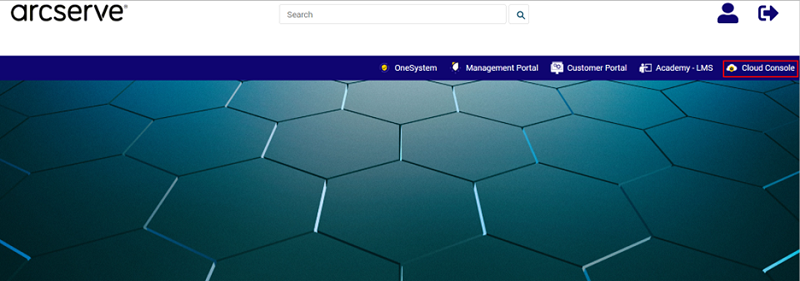
- On the Arcserve portal, click Cloud Console.
-
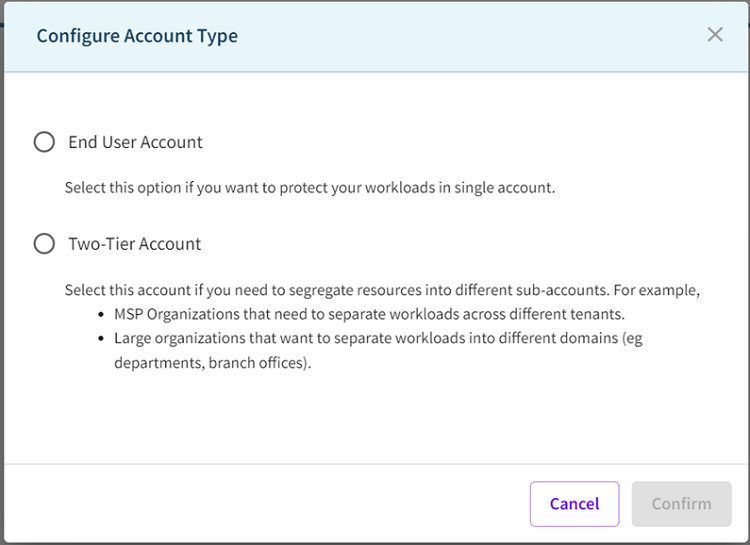
- The Cloud Console UI opens and displays the Configure Account Type dialog.
- On the Configure Account Type dialog, do one of the following, and then click Confirm:
- If you want to protect your workloads in a single account, select End User Account.
- If you want to segregate your resources into different sub-accounts, select Two-Tier Account.
-
- Notes:
- When you select End User Account as your account type, then you become the Super Admin. To create users as a Super admin, see How to Create Users as a Super Admin.
- When you select Two-Tier Account as your account type, then you become the MSP Super Admin. To create users as an MSP Super admin, see How to Create Users as MSP Super Admin.
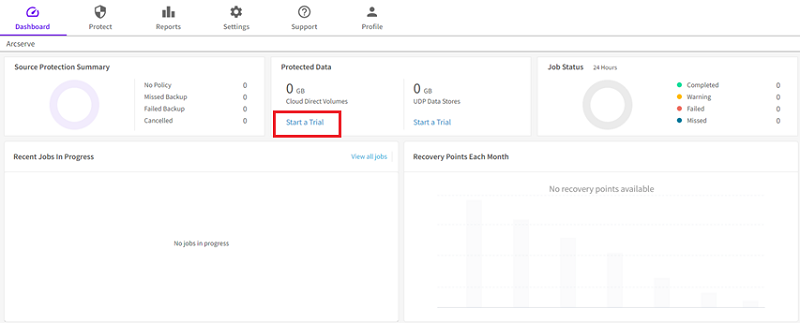
- The account type is configured successfully, and the dashboard page appears.
- If you have not entered an Order number and Fulfillment ID, click Start a Trial under the Cloud Direct Volumes widget.
-
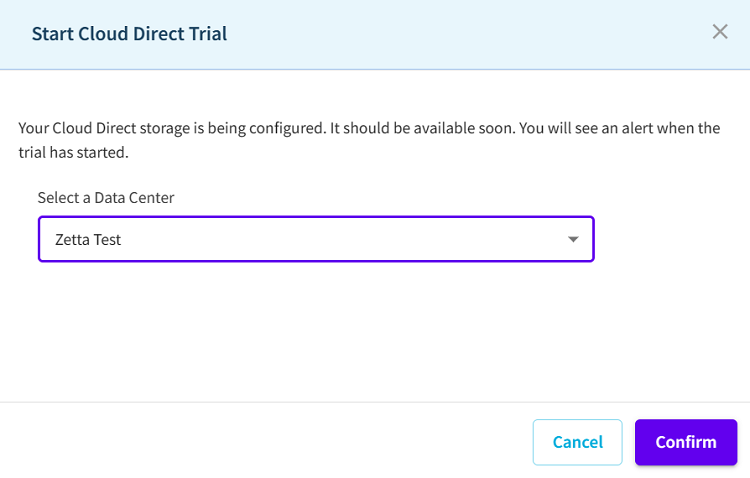
- The Start Cloud Direct Trial dialog appears.
- Select a data center form the drop-down list as needed, and then click Confirm.
-
You can now add systems, apply policies, and protect systems using Cloud Direct.