

Mount Recovery Point provides the ability to mount a recovery point to a drive letter (volume) or an NTFS folder, to view, browse, copy, or open the backup files directly in Windows Explorer.
Note: For CA ARCserve Central Host-Based VM Backup, the recovery points are mounted on the backup proxy system.
Instead of using the CA ARCserve D2D web interface to find or recover files and folders, you can mount the volumes from a given CA ARCserve D2D backup recovery point to a drive letter, so that you can use Windows Explorer to find or recover any files and folders. The benefit is that Windows Explorer can be more familiar and convenient to use.
Follow these steps:
The Mount Recovery Point dialog opens.
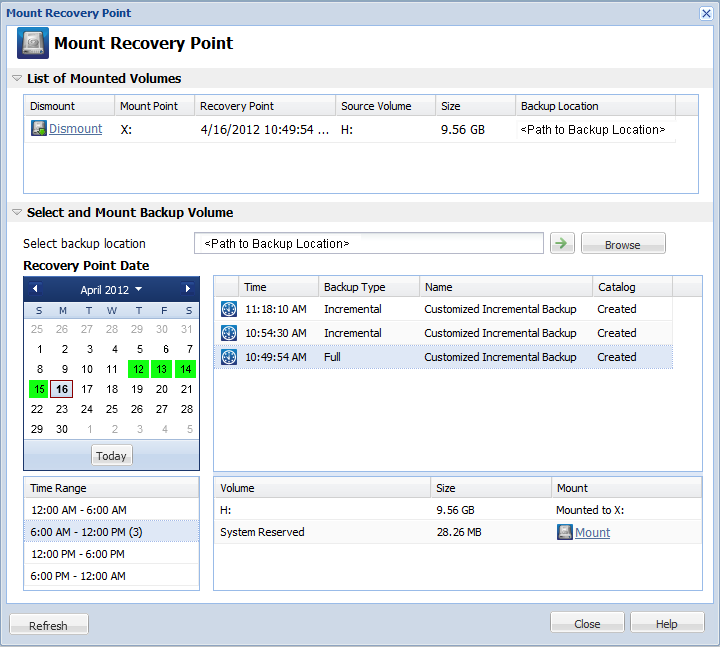
The calendar view highlights (in green) all dates during the displayed time period that contain recovery points for that backup source.
The corresponding recovery points for that date are displayed, with the time of the backup, the type of backup that was performed, and the name of the backup.
Note: A clock icon with a lock symbol indicates that the recovery point contains encrypted information and can require a password to mount the recovery point.
The corresponding backup content (including any applications) for that recovery point is displayed.
You can mount the recovery point to a drive letter (volume) or an empty NTFS folder.
Note: If a volume is mounted already, you cannot mount it again from the same recovery point.
The Mount Recovery Point dialog opens.

Important! The path must be to an empty NTFS folder.
The selected backed up volume is mounted and displayed in the List of Mounted Volumes on the Mount Recovery Point dialog. You can now use Windows Explorer to view, browse, copy, or open the backup files.
Note: You cannot delete any backup files from Windows Explorer.
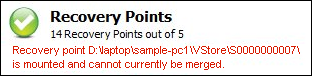
If CA ARCserve D2D attempts to merge a mounted recovery point, a status alert also displays on the Home Page to inform you the selected recovery point cannot be merged.
Note: If the merge fails and you want to be notified, you can configure Email Alerts in the Preferences Settings to receive an email alert. For more information, see Specify Email Alert Preferences.
The selected mount point is dismounted and no longer displays in the List of Mounted Volumes on the Mount Recovery Point dialog.
The updated list of mount points displays.
|
Copyright © 2013 CA.
All rights reserved.
|
|