

The Cloud View panel lets you manage and monitor your EC2 instances and supports multiple AWS accounts.
Note: If you need to manage EBS volumes, snapshots, Elastic IPs, security groups, and so on, use the standard AWS management tools such as the AWS Management Console.
This panel provides the following options:
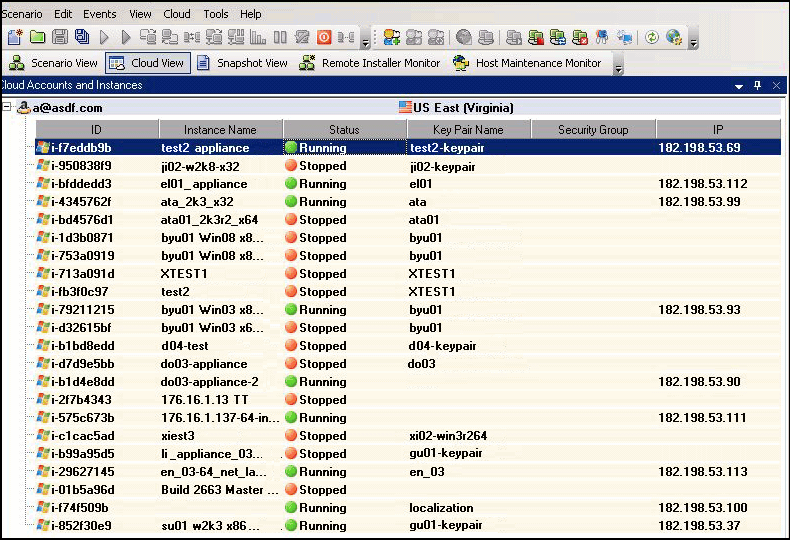
Displays the cloud accounts and instances. The Cloud View tab contains two panes. The left pane displays the cloud accounts and instances, including instance, status, key pair name, security group and IP address.
Displays the AWS statistics panel that provides the EC2 resource use summary for a cloud account. This pane displays on the right when an AWS account entry is selected in the left pane.
Displays the AWS statistics panel with detailed information about an instance. This pane displays on the right when a specific instance is selected in the left pane.
Displays additional instance statistics when the AWS Cloud Watch option is enabled.
Using the Cloud View panel activates the Cloud View Toolbar. Use the following options on the Cloud View toolbar to help you easily manage your cloud accounts and instances:
Opens the Add Cloud Account dialog so you can create a new cloud account.
Specifies to delete the selected cloud account.
Lets you change cloud account information.
Lets you change the AWS default region.
Opens the Instance Creation Wizard so you can create a new instance.
Specifies to delete the selected instance.
Specifies to start the selected instance.
Specifies to stop the selected instance.
Specifies to restart a stopped instance.
Lets you retrieve an instance password.
Refreshes the cloud account and instances that display in the Cloud View.
Lets you specify proxy information such as IP address, port, and user credentials so that you can use a proxy to connect to the cloud service.
|
Copyright © 2015 Arcserve.
All rights reserved.
|
|