

The Overview screen has been redesigned to incorporate the latest Internet technology. Across the top of the Overview screen, an RSS feed cycles through product headlines. Click a headline to view the whole story posted at the Expert Advice Center.
The Support and Community Access section of the Arcserve RHA home page provides links to various product support sites.
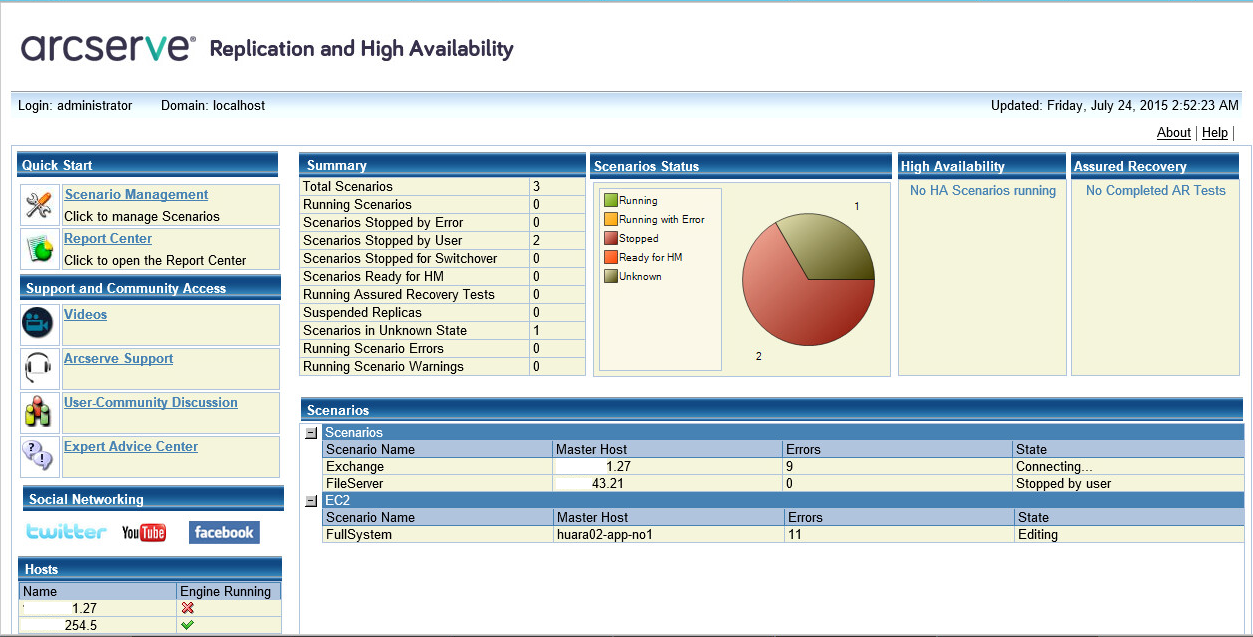
Click here to access available Arcserve RHA how-to videos for basic procedures. You can also view videos directly from YouTube. (Click the YouTube link in the Social Networking panel.)
Click here to go to the One Stop Support site where you can resolve issues and access important product information.
Submit questions and share your ideas for new product features via our GetSatisfaction partner. All information is submitted directly to the product development team.
Be part of the Arcserve RHA User Community. Click here to share your tips and best practices or ask questions.
Subscribe to the news feed to get the latest product news and information as well as link to other Arcserve RHA-related information.
Social Network Panel
You can even follow us on Twitter or friend us on Facebook to keep pace with product changes. Click the YouTube link to access videos.
Click All Feeds (located in the top right corner) to subscribe to any or all of the sites. When a site is updated, you are notified.
Feeds (disabled by default) and social networking links (enabled by default) and can be enabled or disabled as needed. Edit the configuration file as follows to enable these settings:
<appSettings>
<add key="SocialNetwork_Visible" value="true" />
<add key="GoogleFeed_Visible" value="false" />
</appSettings>
|
Copyright © 2015 Arcserve.
All rights reserved.
|
|