Enabling Email Alert and Understanding Email Format
When data store destination is nearing full capacity or the free space of destination folder reaches the warning threshold or error threshold, email alert is sent to special recipients to notify about the situation. To receive email alert, you need to configure email settings and enable the option to receive email alerts.
To enable email alert, follow these steps:
- Select the Send an email alert when a destination is nearing full capacity check box while adding / modifying / importing the data store.
- The Configure Email button gets enabled.
- Click Configure Email.
- The Email Settings dialog appears.
-
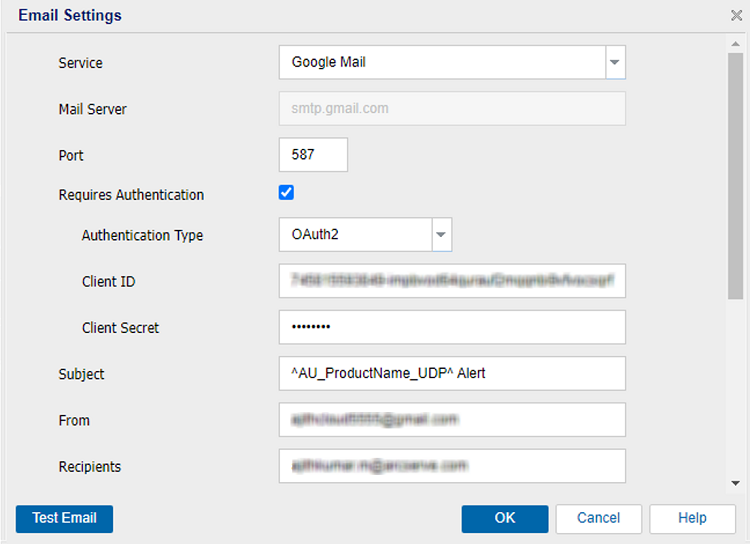
- On the Email Settings dialog, do the following, and then click OK:
- Service: Select an email service form the drop-down list.
- Mail Server: Specify the host name of the SMTP server that you can use to send email alerts.
- Port: Type the port number for the email server.
- (Optional) Requires Authentication: If the specified email server requires authentication, select the Requires Authentication check box, and then select one of the following:
- Note: The OAuth2 option displays only if you select Office 365/Outlook Mail or Google Mail as the Service type.
- From the Authentication Type drop-down list, select Basic, and then specify the following details:
- Account Name: Type the user name or email address of the specified email server.
- Password: Type the password to authenticate.
- From the Authentication Type drop-down list, select OAuth2, and then specify the following details:
- Client ID: Specify the Client ID.
- Client Secret: Specify the Client Secret.
- Notes:
- For Office 365/Outlook Mail, provide the client ID and client secret of the Azure AD application that you have created. For more information about how to get the client ID and client secret, see How to Configure OAuth 2.0 Authentication for Office 365.
- For Google Mail, provide the client ID and client secret of the Gmail project that you have created. For more information about how to get the client ID and client secret, see How to Configure OAuth 2.0 Authentication for Google Mail.
- Subject: Type the subject for the email.
- From: Type the email address of the sender as needed.
- Recipients: Type the email address of the recipient as needed.
- Use SSL: If the specified email server requires an SSL (Secure Sockets Layer) connection to transmit data securely through the Internet, select the Use SSL check box.
- Send STARTTLS: If the specified email server requires STARTTLS (Start TLS extension) command that is issued to initiate a secure SMTP connection between servers, select the Send STARTTLS check box.
- Use HTML format: Email alert notifications are sent as HTML. If this option is not selected, the alerts are sent as plain text. By default, this option is selected.
- Enable Proxy Settings: Select to enter Proxy Server and authentication details.
- (Optional) Test Email: Click to verify if the recipients email ID is receiving email. We recommend you click the Test Email button and test before saving the details.
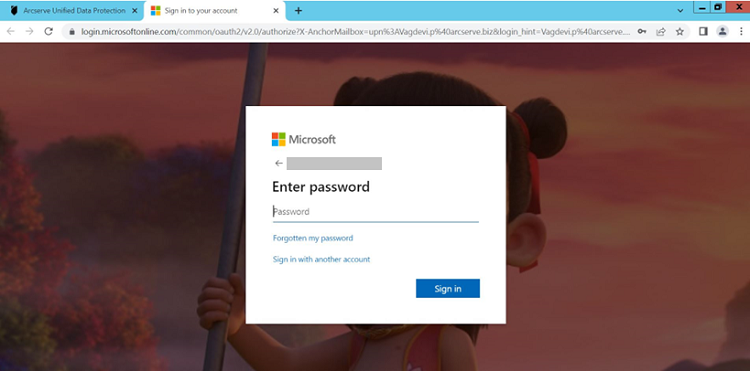
- On the web page, do the following:
- Login using the O365 credentials.
-
- The success or failure messages appear as follows:
- On successful authentication, the following message appears:
-

- On authentication failure, the following message appears:
-

- You can also observe an appropriate error on the UDP Console UI.
- Close the tab and go to the UDP Console.
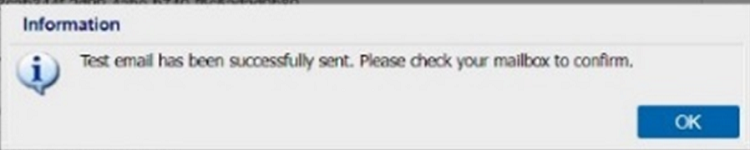
- On the Email Settings page, the Information dialog appears and informs you that the test email has been sent successfully.
- Click OK to close the dialog.
-
- On the web page, do the following:
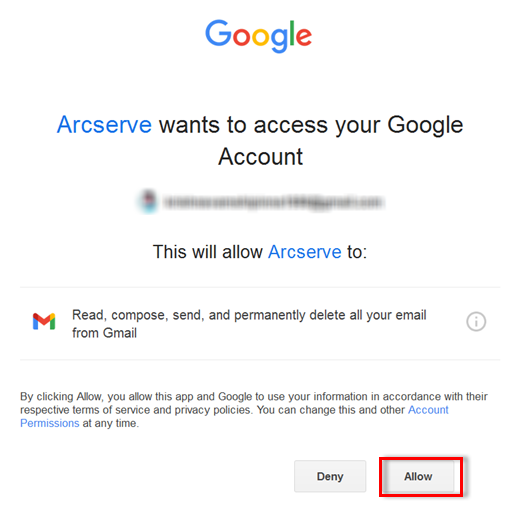
- Login using the Gmail credentials.
- Click Allow to grant consent for the Gmail service.
-
- The success or failure messages appear as follows:
- On successful authentication, the following message appears:
-
- On authentication failure, the following message appears:
-
- You can also observe an appropriate error on the UDP Console UI.
- Close the tab and go to the UDP Console.
- On the Email Settings page, the Information dialog appears and informs you that the test email has been sent successfully.
- Click OK to close the dialog.
-
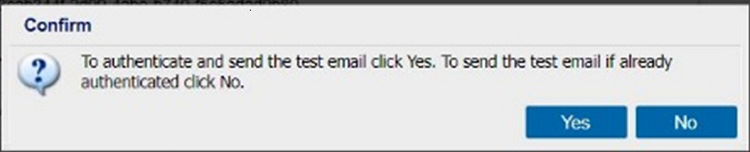
- On the confirmation dialog, do one of the following:
- To re-authenticate and send the test email, click Yes, and then follow the above-mentioned steps.
- To send the test email without re-authentication, click No.
-
- Send Email Alerts: Select the Discovered Nodes check box to configure Active Directory nodes that you can find using the Discover feature available for Nodes under the resources tab.
If you are configuring the email alerts for the first time, and you click the Test Email or OK button, you are redirected to a web page.
If you have already authenticated and click the Send A Test Email button, the confirmation dialog appears.
Email is configured to receive all alerts for data store.
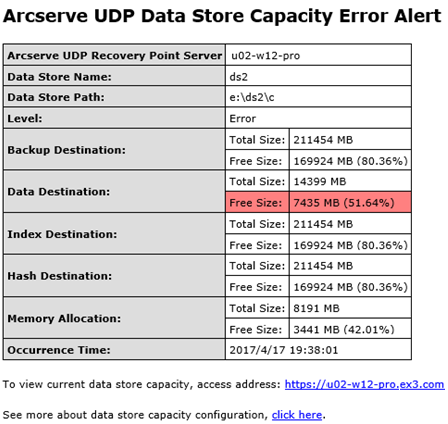
Email alert is sent to configured recipients when:
- Data store path capacity is changed from healthy to warning range (reaches warning threshold value).
- Data Store path capacity is changed from warning range to error range (reaches error threshold value).
- Data store destination folder releases some space (such as, after data store merge job, enlarging destination volume space, and so on) and leaves warning / error threshold to healthy range.
Format of Alert Received in Email