

The Arcserve UDP Appliance contains built-in Ethernet ports. To use these ports, an Ethernet NIC teaming can be configured. NIC Teaming allows multiple network adapters that is placed into a team for the purpose of bandwidth aggregation and traffic failover to maintain connectivity in the event of a network component failure.
To configure a working NIC Team, a network switch that supports link aggregation is required. Consult your network switch vendor and Microsoft Windows Configuration document to configure the NIC Team properly.
After the network switch is configured, you can then perform the following procedure to have the Arcserve UDP Appliance use the NIC Team.
Note: If a DHCP or static IP address is used, you can then configure the IP address for the NIC Team in the Network Connections screen. Ensure that a valid IP address is assigned to the NIC Team and is available on your network.

Note: If other routing and remote access functions have been configured for other purposes, reconfiguring them again after completing these steps is recommended.
The Routing and Remote Access Server Setup Wizard opens.
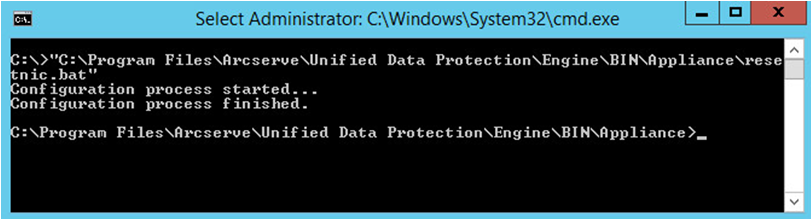
C:\\Program Files\Arcserve\Unified Data Protection\Engine\BIN\Appliance\resetnic.bat
The configuration completes and the following message appears:
To verify that the configuration is working, log in to the Linux Backup Server in the Hyper-V Manager and ping the IP address for the specific computers on your intranet. If this fails, review and repeat this procedure.
|
Copyright © 2016
|
|