

Destination Administrator
The source data is replicated to this destination data store. To define this destination data store, you create a plan. The plan lets you define the destination data store and the merge schedule.
Follow these steps:
If you have added any plans, these plans are on the center pane.
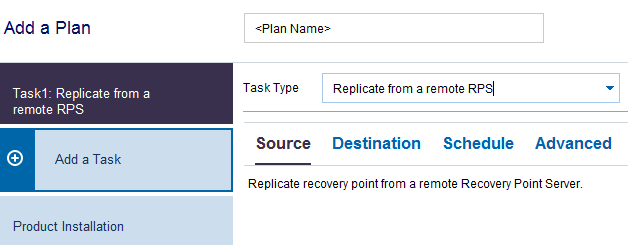
The Add a Plan page opens.
The Source tab displays. You cannot provide any details on the Source tab. The source administrator at the source Console provides the source details.
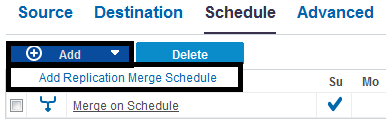
The Add New Merge Schedule dialog opens.
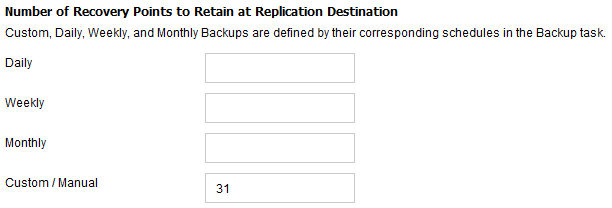
Note: To know more about the schedules, see Understanding Advanced Scheduling and Retention.
The Add New Merge Schedule dialog closes.
Lets you enable email alerts. You can configure email settings and can specify the types of alerts that you want to receive in an email. When you select this option, the following options are enabled for your selection.
Lets you configure the email settings. Click Email Settings and configure the email server and proxy server details.
Lets you select the types of job alerts that you want to receive.
The changes are saved and the plan is created.
The replication plan is successfully created. You can also add Replicate tasks and Virtual Standby tasks to the plan.
|
Copyright © 2016
|
|