

The email scheduling option lets you create a new customized schedule to send reports via email to specified recipient(s).
Note: Before any email can be sent out (either from the GUI or scheduled), you must first configure the SMTP setting using the Alert Manager. For more information, see the Administration Guide.
Add a new Email Report
The Schedule Emails dialog opens.
The New Schedule dialog opens with the General tab selected.
Note: All fields in red are required fields.
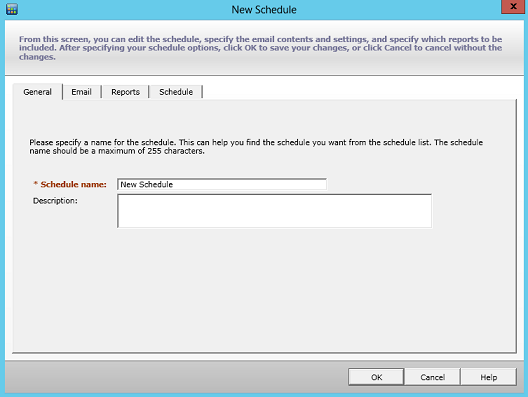
The new report name and corresponding description are saved.
The email settings dialog opens.
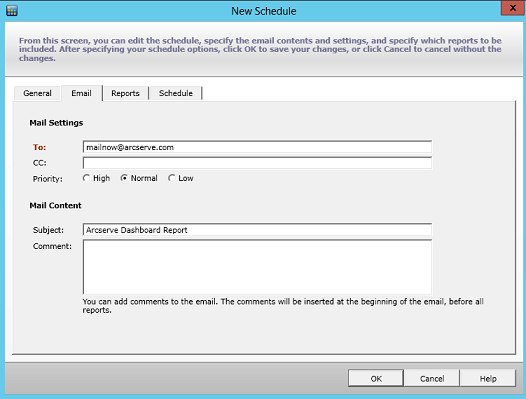
Note: To enter multiple email addresses, each address must be separated by a semi-colon character.
You can also specify the priority of the scheduled email (High, Normal, or Low), add a comment to be included in the email, and enter the email subject. (If you do not enter a subject, a pop-up confirmation window opens when you click the OK button).
The new report email settings are saved.
The reports settings dialog opens.
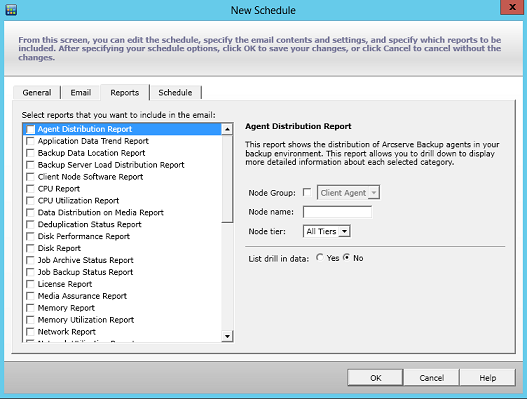
The Reports tab consists of two parts: the report list and the report parameter collector. From the left pane, you can select which report(s) to be sent by checking the corresponding check box. When you highlight a report name, the right pane displays the corresponding name, description, and parameters of the selected report. From this pane, you can specify the parameters of the report being sent. These parameters are used when generating the report at the scheduled time.
The report settings for the new report are saved.
The schedule settings dialog opens.
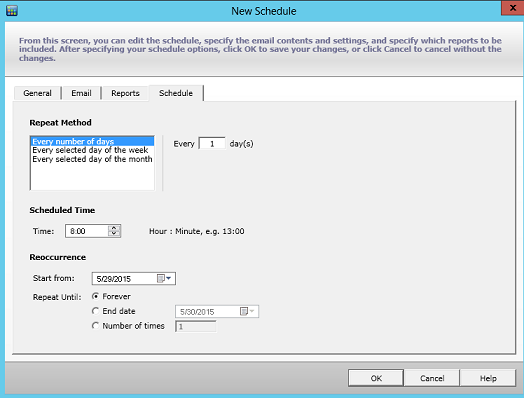
Scheduling information consists of three parts: Repeat Method, Scheduled Time, and Reoccurrence.
There are three Repeat Method schedule options from which you can select the days the emails (with the specified reports included).
If you select Every several days, you can then select the number of days or interval between emails. If you specify the interval to 1, this means the email is sent every day.
If you select Every selected day of the week, you can then select the day(s) of the week (Monday through Sunday) that the email is sent. You can select multiple days of the week. By default, for a new schedule, the setting is all workdays (Monday through Friday).
If you select Every selected day of the month, you can then specify the day number and the direction the day number is counted from. The direction can be counted from beginning or from the end of every month.
You can specify the time of the day that the email is sent. The time selections are specified in 24-hour format.
You can specify the date when the schedule become active (the date to start the repeat from), and when the repeat schedule terminates. You can select to repeat forever, repeat to an end date, or repeat a specified number of times.
By default, the start date is always the current day (today) and the schedule is repeated forever.
The Email configuration settings and Email content are saved.
|
Copyright © 2017
|
|