

This section describes how you can install CA ARCserve D2D on your local system using the InstallShield Wizard. The InstallShield Wizard is an interactive application that guides you through the installation process.
Follow these steps:
The procedure continues the CA ARCserve D2D installation process.
Note: If the installation is performed using the web downloaded installation package, the contents of the package are extracted to your local system.
The License Agreement dialog opens.
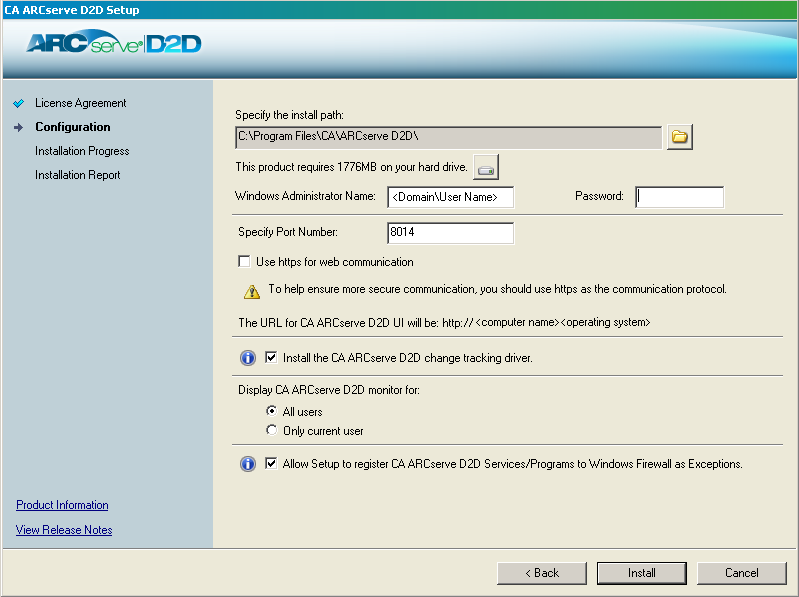
The Configuration dialog opens.
Default location: C:\Program Files\CA\CA ARCserve D2D.
Note: During CA ARCserve D2D installation, some files will not be installed at the default location. For a complete listing of these files, see Installation of Files Outside the Default Location.
Default Value: 8014.
Note: The available port numbers for CA ARCserve D2D installation are between 1024 and 65535. You should verify that the specified port number is free and available for use. Setup will not let you install CA ARCserve D2D for a port that is not available for use.
Note: You can change the communication protocol at any time after installation.
By default, this option is selected.
Note: You can install this driver at any time after the installation is complete by running the InstallDriver.bat utility from the following location: <ARCserve D2D install folder>\BIN\DRIVER
Note: Firewall exceptions are required if you want to configure and manage CA ARCserve D2D from remote machines. For local users, you do not need to register firewall exceptions.
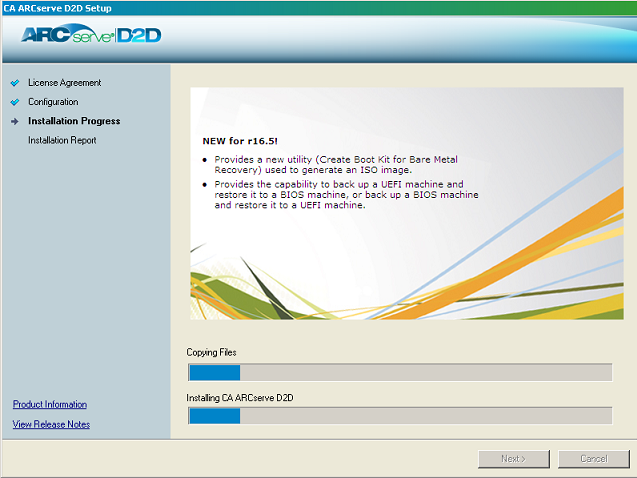
The Installation Progress screen is displayed indicating the status of the installation. When the installation is complete, the Installation Report summary screen is displayed and automatically performs the product configuration.
An alert message is displayed, informing you that a system restart is required and asking if you want to reboot at this time or at a later time.
When the reboot is finished, CA ARCserve D2D is installed on your local system.
Note: You can access CA ARCserve D2D from either the Start menu or from the CA ARCserve D2D Monitor.
After the installation is complete, as a best practice, create a BMR ISO image using the Create Boot Kit utility. For more information about the BMR ISO image, see How to Create a Boot Kit.
|
Copyright © 2013 CA.
All rights reserved.
|
|