Creating the Recovery Environment
You can use REBuilder to create an IT Edition, or IT Edition 3-Day ISO by selecting the applicable Output Product Type option.
Important: Creating the Recovery Environment is a multiple part process. You need to complete the steps on this page, including the three expandable processes at the bottom of this page.
To create the Recovery Environment for Windows:
- Obtain the Recovery Environment builder executable from the Recovery Environment Downloads page.
- Within the website, input your ShadowProtect product key, mark "I accept", and click Next.
- Download the “Arcserve Recovery Environment Builder to create Arcserve Recovery Environment for Windows”
- As an administrator, Install the Recovery Environment Builder (REBuilder) application to a windows system.
-
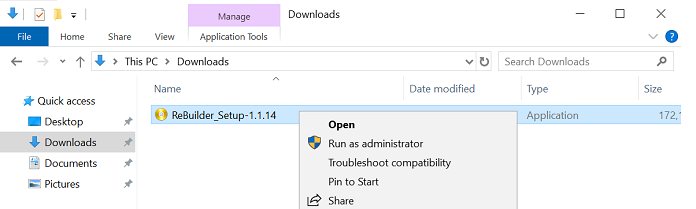
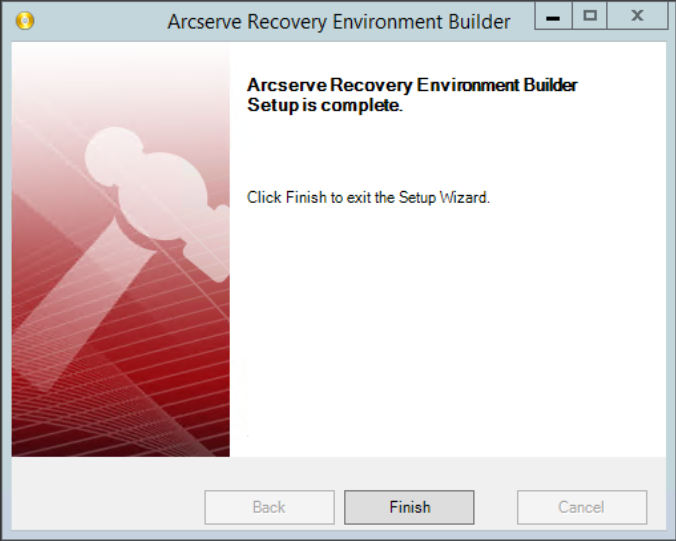
- Complete each step displayed in the Installation wizard.
-

-
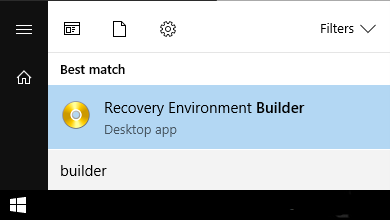
- To launch the application click Start > All Programs > Arcserve > Recovery Environment Builder.
-
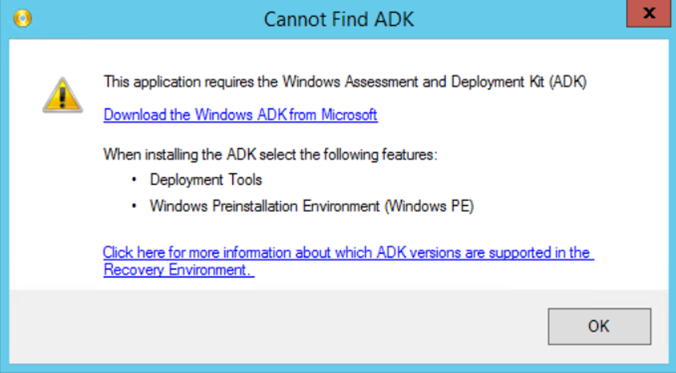
- The software checks the system for the Windows ADK installation. If the ADK is not found you will be prompted to install it.
-
-
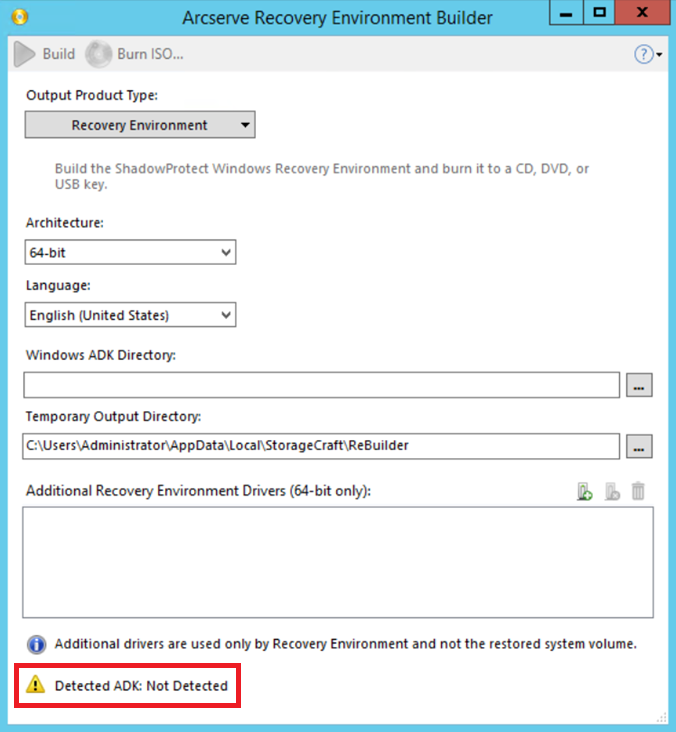
- Note: Use Windows ADK as the foundation when building the Arcserve Recovery Environment for windows. See Supported ADK Versions for details.
- Exit out of REBuilder.
- Download the Windows ADKsetup and ADKwinpesetup. See Download and install the Windows ADK for the latest official Microsoft Windows ADK information.
- After downloading the files, expand and follow the instructions in the Setup the ADK and setup the ADK Win PE sections at the bottom of this page.
- Expand and complete the sub-processes below to finish creating the Recovery Environment:
-
 Running the ADK Setup
Running the ADK setup is part of the Creating the Recovery Environment process.
Before starting the steps in this section, first complete the steps in the sections above. After finishing this section, expand Running the ADK Windows PE Setup and complete the steps in that process.
To setup the ADK:
- Download ADKsetup.exe.
- See Download and install the Windows ADK for the latest official Microsoft Windows ADK information.
- Run ADKsetup.exe as administrator.
- Move through the installation process for each setup. Use the default install paths.
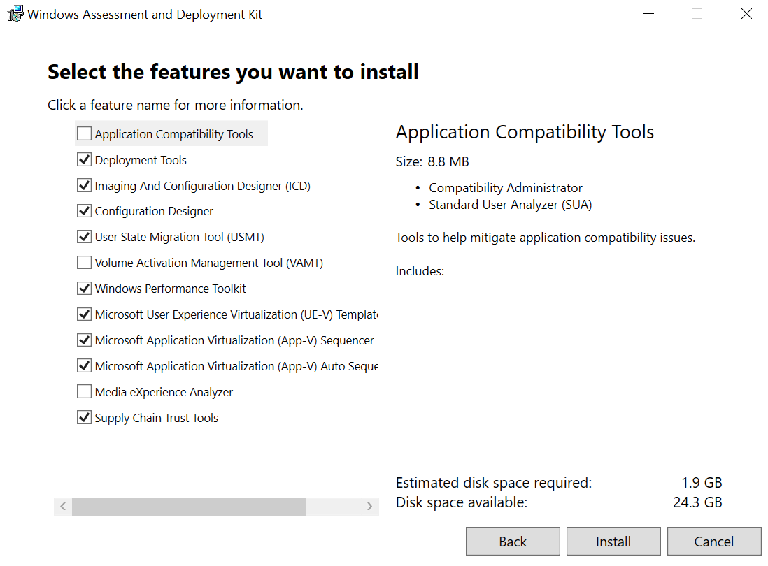
- On the ADKsetup “Select features you want to install” screen, keep all the default selections and make sure that the Deployment Tools feature is selected, then click Install.
-
- Allow the download and installation to complete and close the ADKsetup.
- Expand the Running the ADKwinpe Setup section and complete the steps in that process.
Running the ADK Windows PE Setup
Running the ADK Windows PE Setup is part of the Creating the Recovery Environment process.
Before starting the steps below, first complete the steps in the sections above. After finishing the steps in this process expand Finish Creating the Recovery Environment and complete the steps in that process.
To setup ADK Windows PE:
- Download ADKwinpesetup.exe.
- See Download and install the Windows ADK for the latest official Microsoft Windows ADK information.
- Run ADKwinpesetup.exe as administrator.
- Use the default install paths.
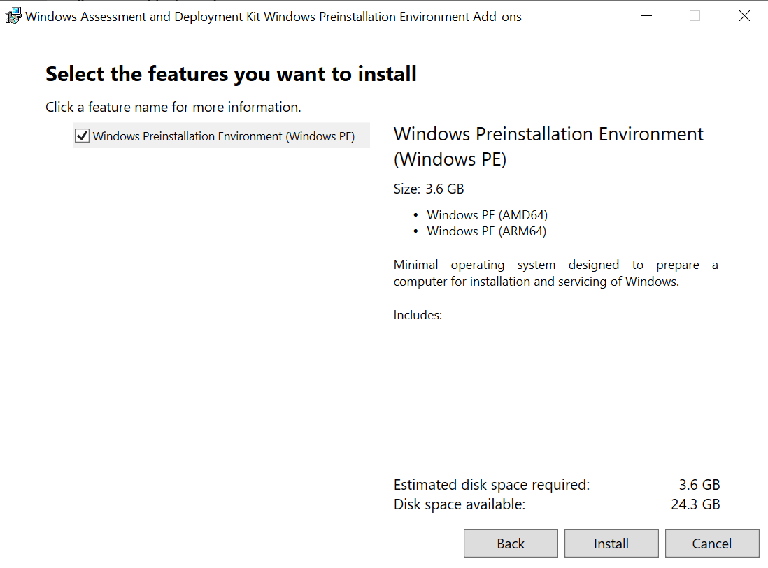
- On the ADKwinpesetup “Select features you want to install” screen, select Windows Preinstallation Environment (Windows PE) then click Install.
-
- Allow the download and installation to complete and close the ADKwinpesetup.
- Expand the Finish Creating the Recovery Environment section and complete the steps in that process.
Finish Creating the Recovery Environment
The steps in this process are the final part of Creating the Recovery Environment.
Before starting the steps below, first complete the steps in the sections above. After finishing the steps in this process you will be finished creating the Recovery Environment.
To finish creating the Recovery Environment:
- Launch REBuilder again and select the required Output Product Type.
-
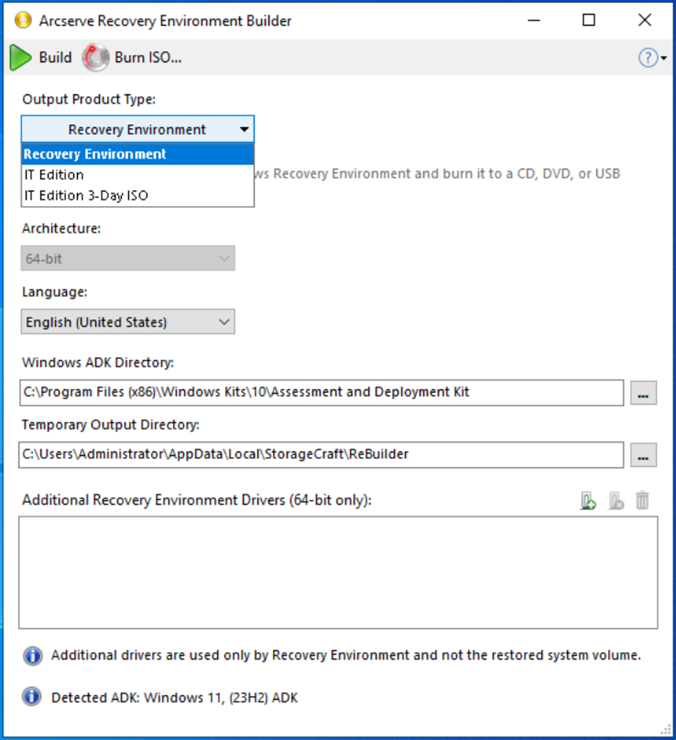
- REBuilder Output Type Options:
- Recovery Environment - Will create an ISO for use when restoring ShadowProtect Images.
- IT Edition – For use when updating an IT edition purchased through Arcserve.
- IT Edition 3-Day ISO – For use when creating a temporary IT edition. Requires IT edition Serial Number.
- Choose the Architecture to be used within the ISO from the dropdown.
- Select the 32-bit or 64-bit option based on the architecture of the restore-target hardware. In other words, a 64-bit ISO cannot boot on 32-bit hardware. However, a 32-bit ISO can boot on 64-bit hardware.
- Important! The 32-bit option creates an ISO that boots only in BIOS/legacy mode. The 64-bit option works for both UEFI and BIOS modes.
- If necessary, the "Additional Recovery Environment Drivers (64-bit only)" section at the bottom of the interface can be used to preload specific drivers into the environment. This includes Network or Storage Controller drivers.
- Click the
 icon in the top left of the Recovery Environment Builder dialog to create the Arcserve Recovery Environment for Windows.
 - A process status screen is then displayed.
-

- When the ISO is complete, click OK.
-

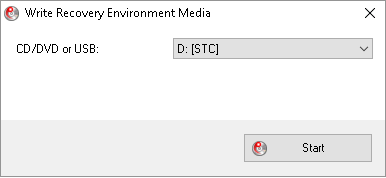
- The application will then prompt you to burn the ISO to USB/CD/DVD.
- Choose the drive letter that represents the removable media in which the ISO is to be written, then click Start.
- Warning: You will see an important warning (for everything except the IT Edition) that everything on the target will be erased when you build the Recovery Environment. However, if you build this for the IT Edition, you can ignore this warning.
-
- The REBuilder displays the following message when the process is finished.
-
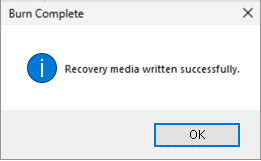
You can now use the disc (or insert the USB key) to boot a PC and recover a system volume.
Note: After creating the Recovery Environment, the ADKsetup and ADKwinpesetup files are no longer needed. If conserving hard disk space is a priority, you can uninstall them.