

Follow these steps:
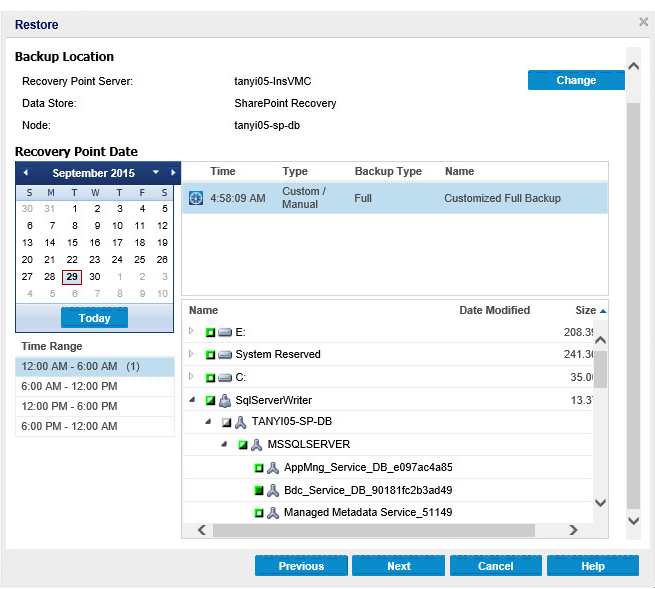
The Arcserve UDP Agent UI opens that is hosted on the Database Server.
If you select "Restore to original location", the database is restored to the original location. If you select "Restore to alternative location", the database is restored to the specified location. Both the restored database will be attached in SQL Server automatically. If you select "Dump file only", the database data file and log file are saved to the specified location.
Note: After select "Dump file only", attach the database first. Follow the steps in Restore using Mount Database from Recovery Point and verify if the new content database is associated with its original web application. If not, add the restored content database to original web application.
|
Copyright © 2016
|
|