

Upgrading to Arcserve UDP Version 6.0 › How to Migrate the Backend Database and Upgrade from Arcserve UDP 5.0 with SQL 2005 to Arcserve UDP 6.0 › Migrate Arcserve UDP 5.0 with SQL Server 2005 to Arcserve UDP 6.0 with SQL Server Express Edition After Upgrade
Migrate Arcserve UDP 5.0 with SQL Server 2005 to Arcserve UDP 6.0 with SQL Server Express Edition After Upgrade
After you upgrade to Arcserve UDP Version 6.0, you can migrate the database to the supported database.
Migration Consideration
Ensure that jobs are not running in the Arcserve UDP 5.0 environment. Stop the data store, if required.
Follow these steps to migrate Arcserve UDP 5.0 with SQL Server 2005 to Arcserve UDP 6.0 after the upgrade:
- Stop the Arcserve Console Management Service.

- Back up the backend database before the upgrade.
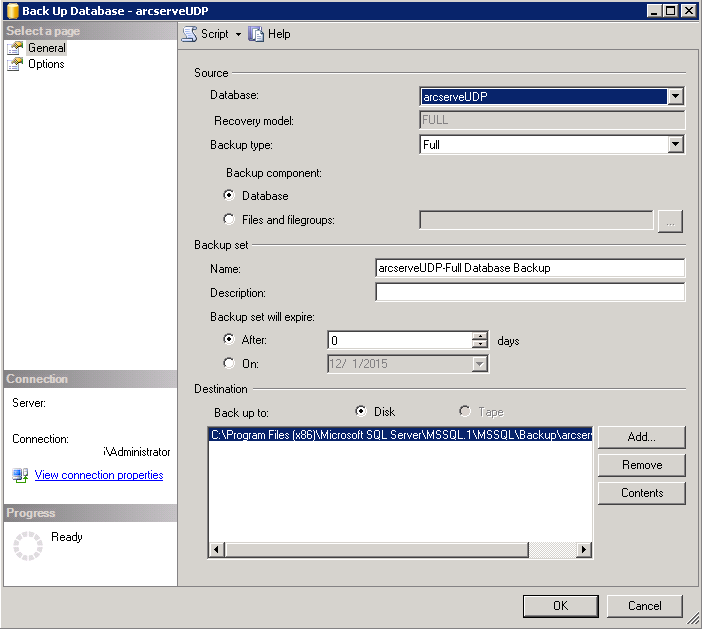
- Back up the Arcserve Database with SQL Server Management Studio.
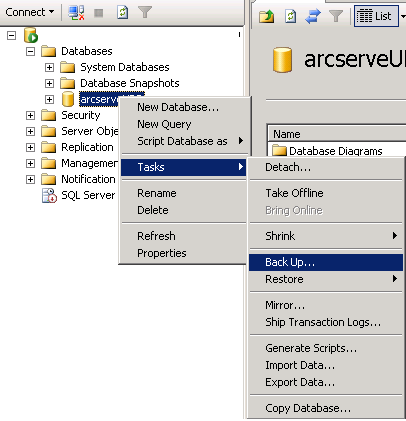
- On the Back Up Database dialog, configure the backup destination, and click OK.
- Uninstall Arcserve UDP Version 5.0.
Note: Upgrading using the Installation wizard is blocked if the previous version of Arcserve UDP backend database is detected as SQL 2005. After you back up the database, uninstall the previous version and newly install Arcserve UDP Version 6.0.
- Install Arcserve UDP Version 6.0 with the default SQL Server 2014 SP1 Express Edition.
- After the installation is complete, stop the Arcserve UDP Management Service in Windows Services Console.
- Install the Database Management Tool - SQL Server Management Studio.
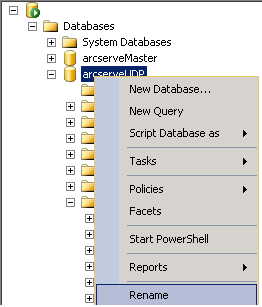
- Rename or delete the newly installed default Arcserve UDP database named arcserveUDP.
- Migrate the backed up old database data to the new installed default Arcserve UDP database.
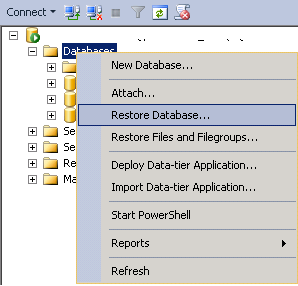
Restore the backend database that you have backed up in Step 2 to the newly installed Arcserve UDP database.
- Right click the database, and select Restore Database.
- In the Restore Database dialog, verify the Source - Device is the same previous backup destination and add the backed up database file.
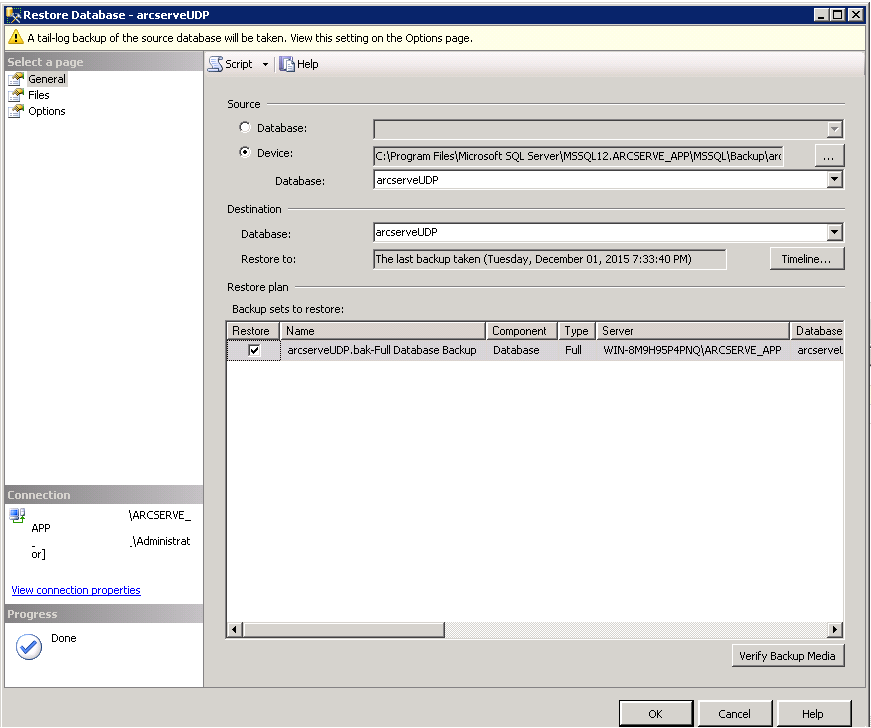
- Click OK.
- Configure database connection in Console.
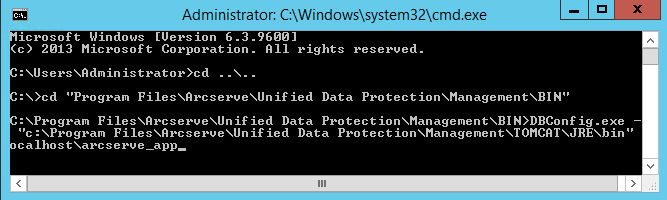
- Open the command prompt window and navigate to the Arcserve UDP installation path:
C:\Program Files\Arcserve\Unified Data Protection\Management\BIN
- Start the process using the following Command Line syntax:
For UDP 6.0
DBConfig.exe -c "C:\Program Files\Arcserve\Unified Data Protection\Management\Tomcat\JRE\bin" localhost\arcserve_app
For UDP 6.0 Update 1
DBConfig.exe create
Note: The arcserve_app is the default Arcserve UDP Version 6.0 database instance name.
- In the same path, start the process using the following Command Line syntax:
migrate_udpv5_to_udpv6.bat

- Start Arcserve UDP Management Service in Windows Services Console.
- Log in to the Arcserve UDP Console and update the RPS.
When you log in to the Console and navigate to the Recovery Point Servers view, the status of all data store is displayed with an error.
- If the machine only have Console installed and RPS are installed on remote machines, update the RPS node to correct the data store status by following these steps:
- Click the resources tab on the Console.
- From the left pane, navigate to Destinations and click Recovery Point Servers.
- On the Recovery Point Servers view, right-click one of the RPS and click Update.
The Update Node dialog opens.
- Click OK to begin the update.
- Repeat the above steps for other remote RPS to correct the data store status.
- If Console and Recovery Point Server are installed on the same machine, import the local data store one-by-one to correct the data store status. For more information on importing a data store, see Import a Data Store.
- Update the local node.
If Console and Agent are installed on the same machine, the local node status is displayed with an error. Follow these steps to correct the status:
- Log in to the Console, and click the resources tab.
- Navigate to Nodes, and click All Nodes.
The local node status display with an error.
- Right click the local node, and select Update.
The Update Node dialog opens.
- Click OK to begin the update.
After updating the node, the status of the local node is displayed correctly.
- Deploy the plan to update the RPS and node information.
- Log in to the Console, and click the resources tab.
- Navigate to Plans, and click All Plans.
- Select all the plans, right-click, and select Deploy Now.
The Deploy Now dialog opens.
- Click OK to begin the deploy.
Copyright © 2016 .
All rights reserved.
|
|