

The Source page lets you specify the source nodes that you want to protect. You can select more than one node in a plan. If you have not added any nodes to the Console, you can add nodes when you create or modify a plan from the Source page. You can also save a plan without adding any source nodes. The plan gets deployed only after you add source nodes.
Follow these steps:
Opens the Select Nodes to Protect dialog and you can select the nodes from the displayed list. Select this option if you have already added the nodes to the Console.
Opens the Add Nodes to Arcserve UDP Console dialog. Select this option if you have not added the nodes and you want to manually add the nodes to protect.
Opens the Add Nodes to Arcserve UDP Console dialog. Select this option if you want to discover and add nodes from the Active Directory.
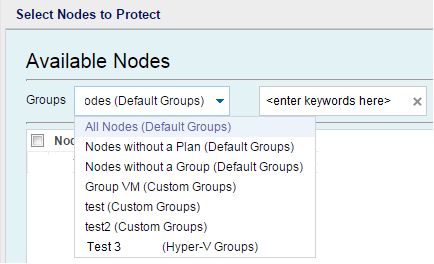
The nodes are displayed on the Available Nodes area.
The selected nodes are displayed on the Selected Nodes area.
Prepares a backup snapshot of all the volumes.
Prepares a backup snapshot of the selected volume.
The source is specified.
|
Copyright © 2016
|
|