

Adding and Managing Source Nodes › Add a Storage Array › Find Array and Data IP of the SVM Storage Array for the Arcserve UDP Console
Find Array and Data IP of the SVM Storage Array for the Arcserve UDP Console
This section describes how to find Array and Data IP when the NetApp Storage array is running in the cDOT(clustered) mode.
Note: Only applicable for the Cluster (SVM).
Follow these steps:
- Login to the NetApp system manager and connect to the cluster with valid credentials.
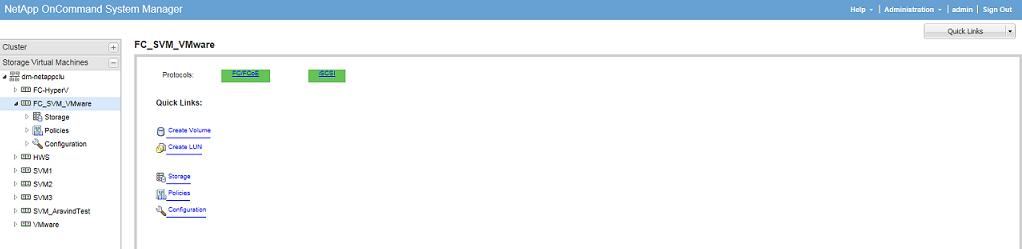
- Identify the SVM that you want to add to the Arcserve UDP console.
- Change the View to Cluster.
- From Cluster, Configuration, click Network, and then open Network Interfaces.
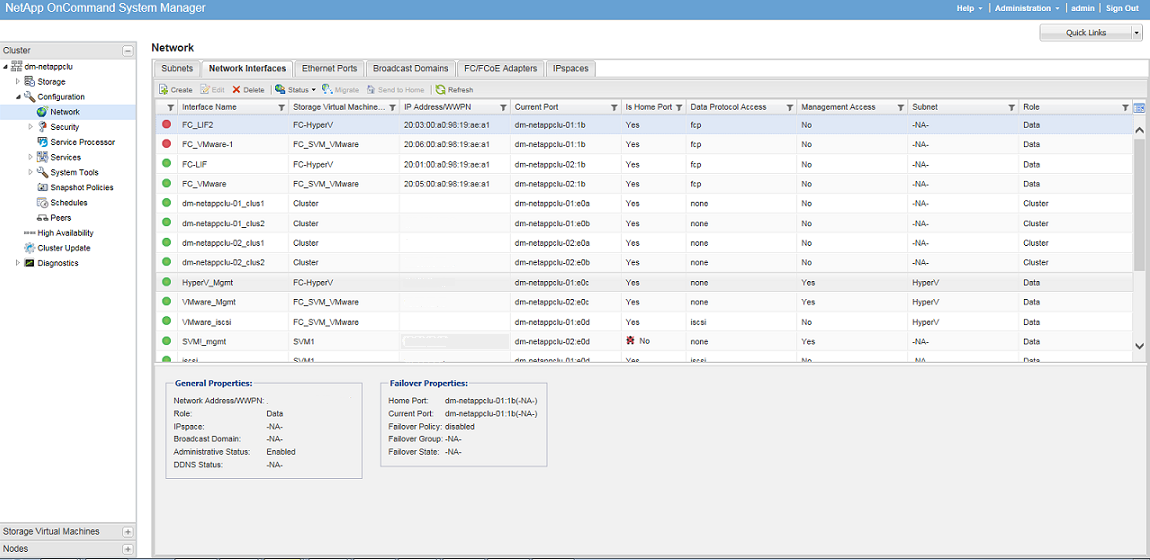
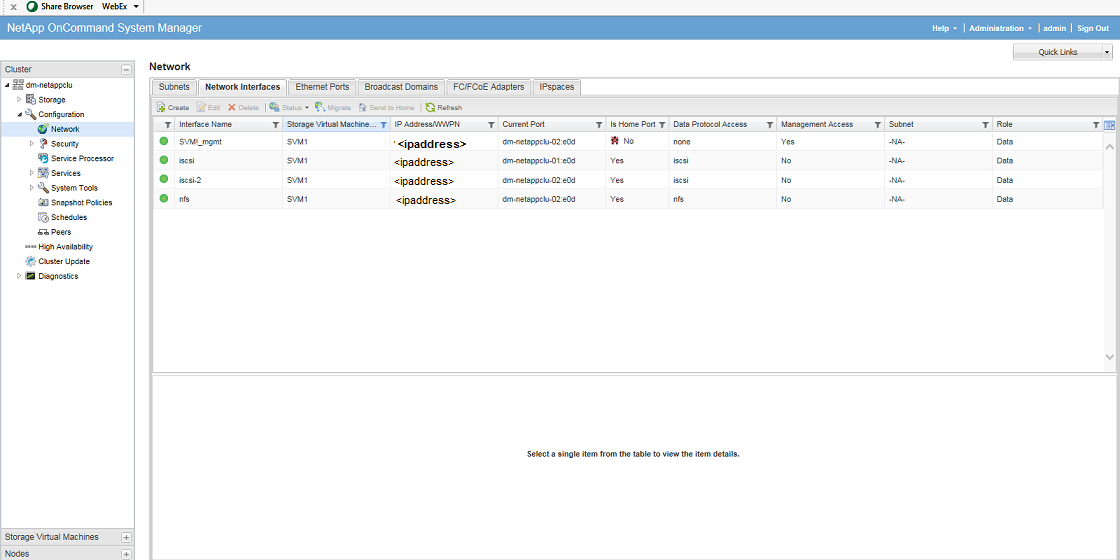
- Filter the storage virtual machine by the SVM that you have identified.
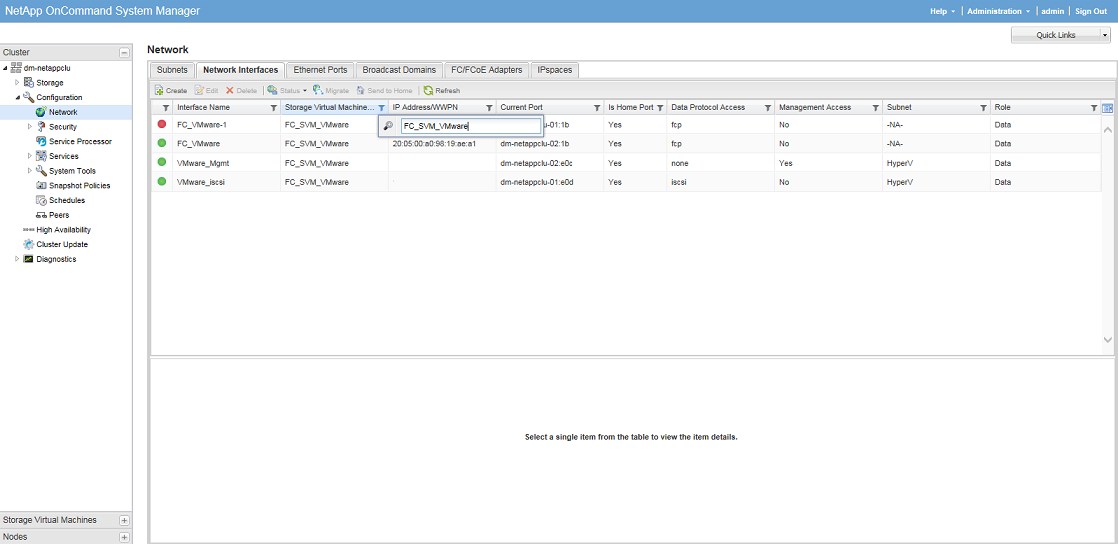
- Find out which interface has the Management Access IP address and the Data protocol access IP address, and provide them at Add Storage Array in the UDP Console.
- Get Management Access IP address:
- Locate the Interface that has the option Yes under the Management Access column.
- From the interface, select the IP address available under IP Address/WWPN.
- Get Data Protocol Access IP address:
- Locate the Interface that has the option iSCSI or NFS under the Data Protocol column.
- For the ISCSI or NFS interface, select the respective IP address available under IP Address/WWPN.
Note: The ESXi server must use the same Data protocol access IP address for read and write to the NetApp storage array for iSCSI or NFS.
Copyright © 2016 .
All rights reserved.
|
|