

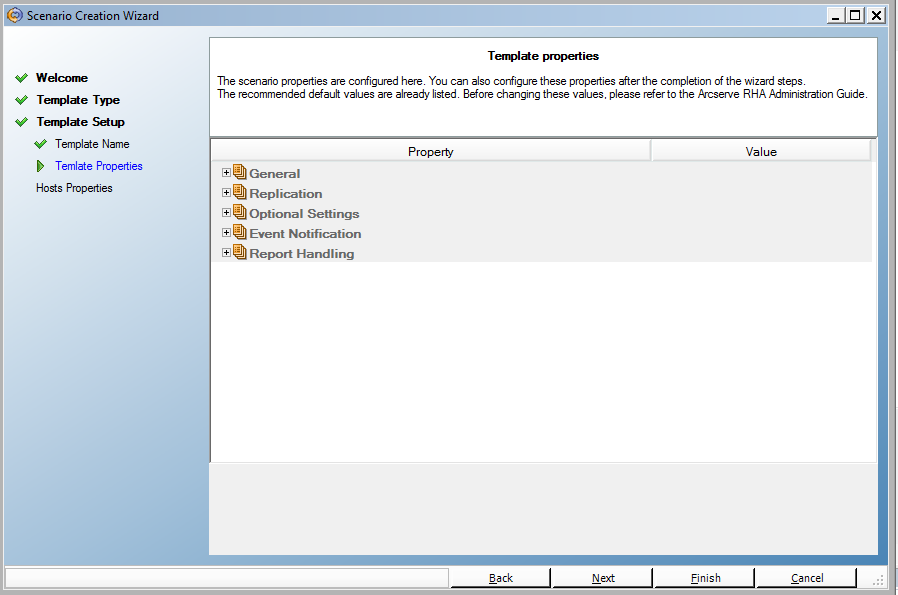
Templates are simple to create and use, and their creation process is basically similar to the creation of a new scenario. However, because a template is not associated with any actual servers, some values cannot be entered, such as the host names or IP addresses of the Master and Replica servers. Also, while default folder paths can be entered on the Directories tab, they must be typed explicitly rather than entered through a file browser.
All the templates are automatically stored in the Templates folder on the Scenario pane. This folder does not appear in the Scenario pane until at least one template is created.
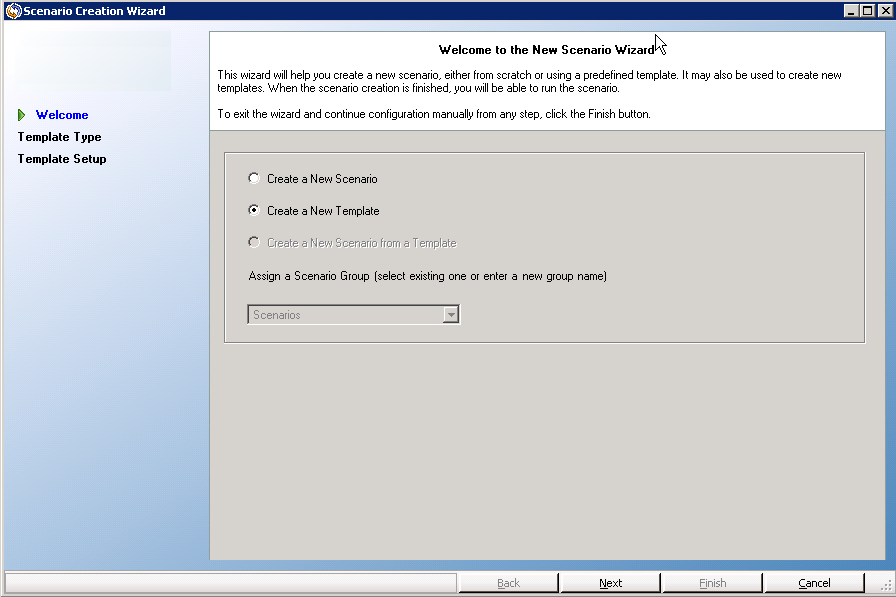
To create a new template
The Scenario Creation Wizard opens.
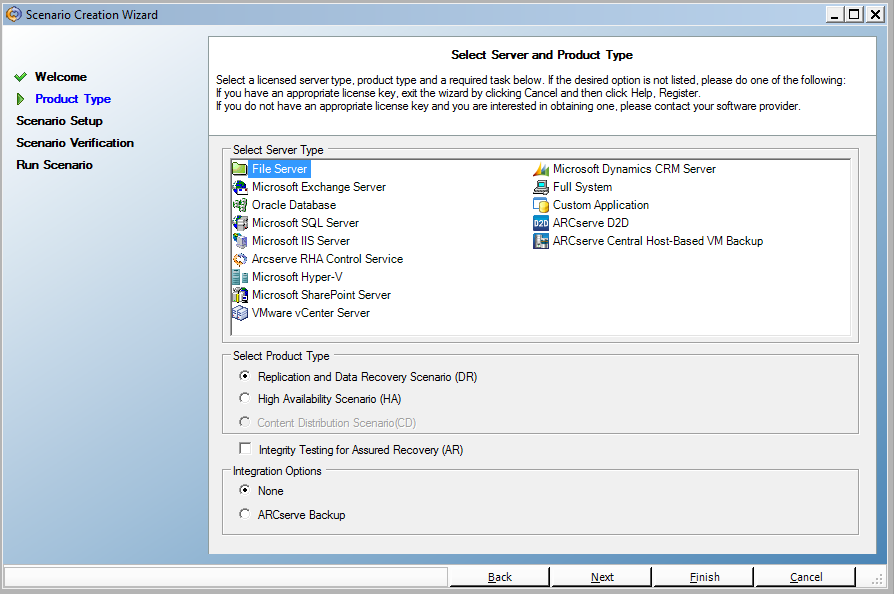
The Select Server and Product Type page opens.
The Template Name and Comments page opens.
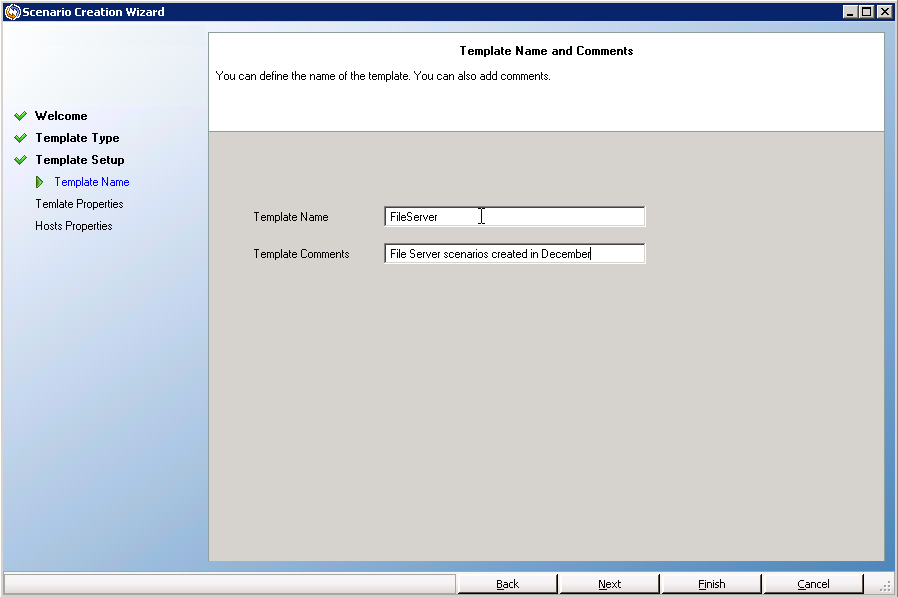
This name is the base for the default names of the scenarios that are created using this template. The description appears on the Scenario pane as part of the template's details and can help you identify the template configuration.
|
Copyright © 2015 Arcserve.
All rights reserved.
|
|